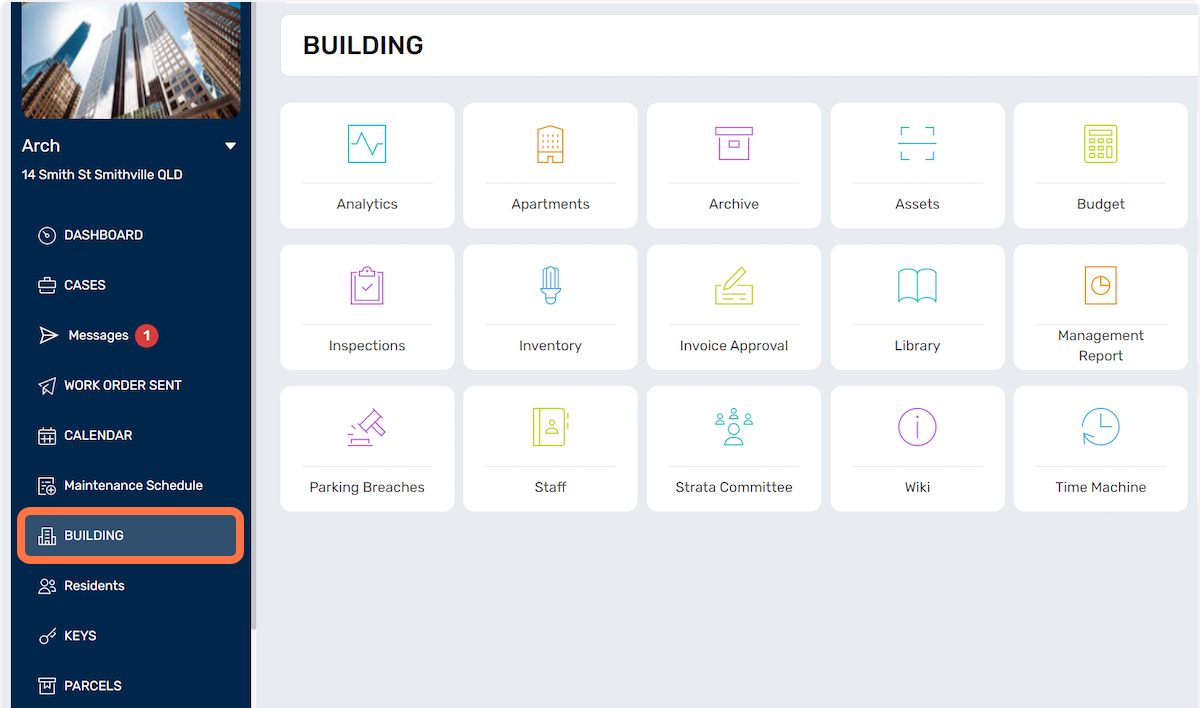
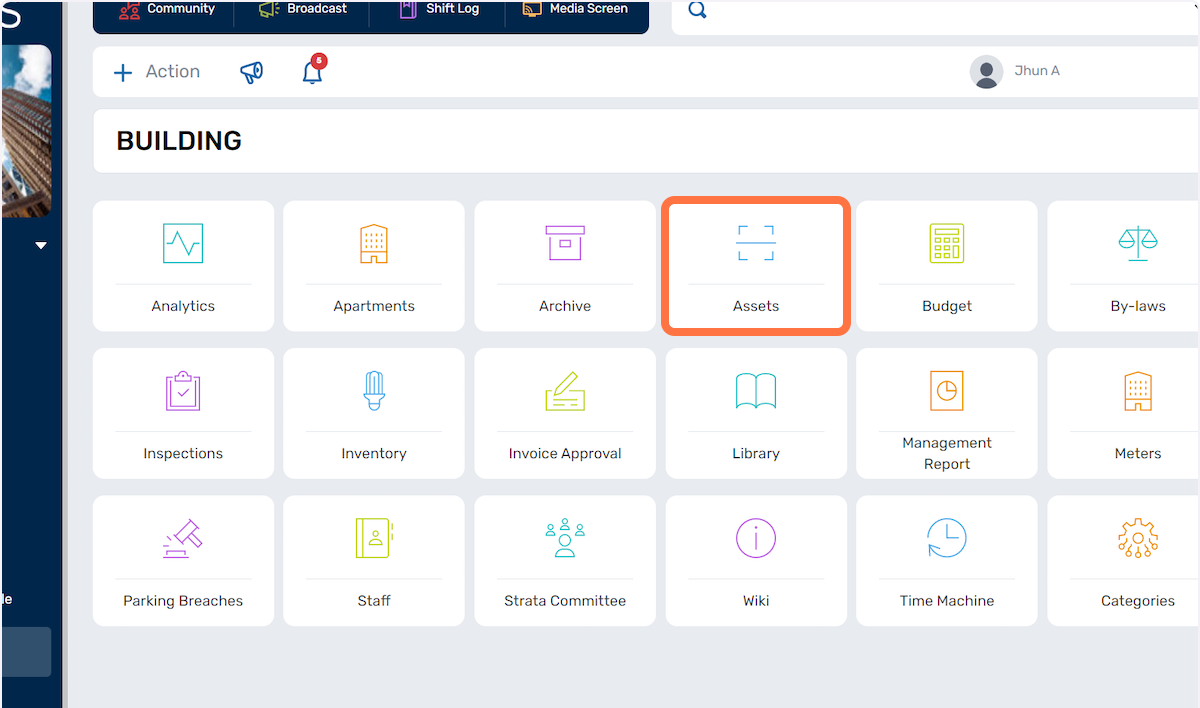
BUILDING: Assets
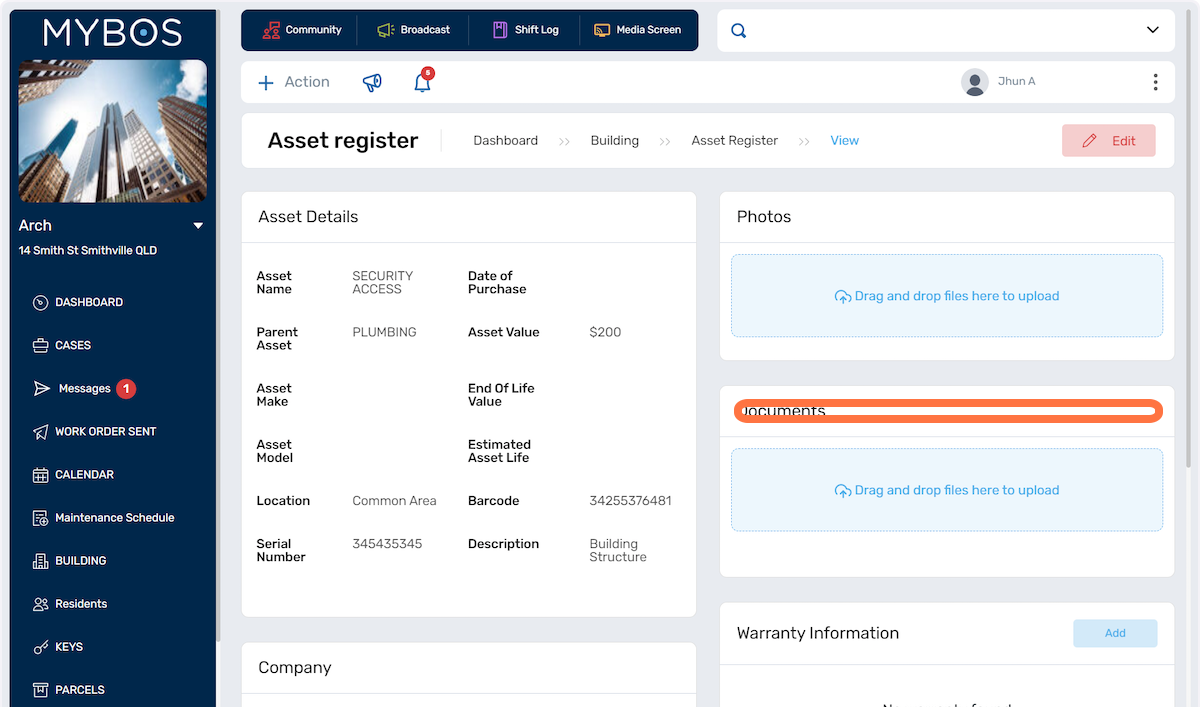
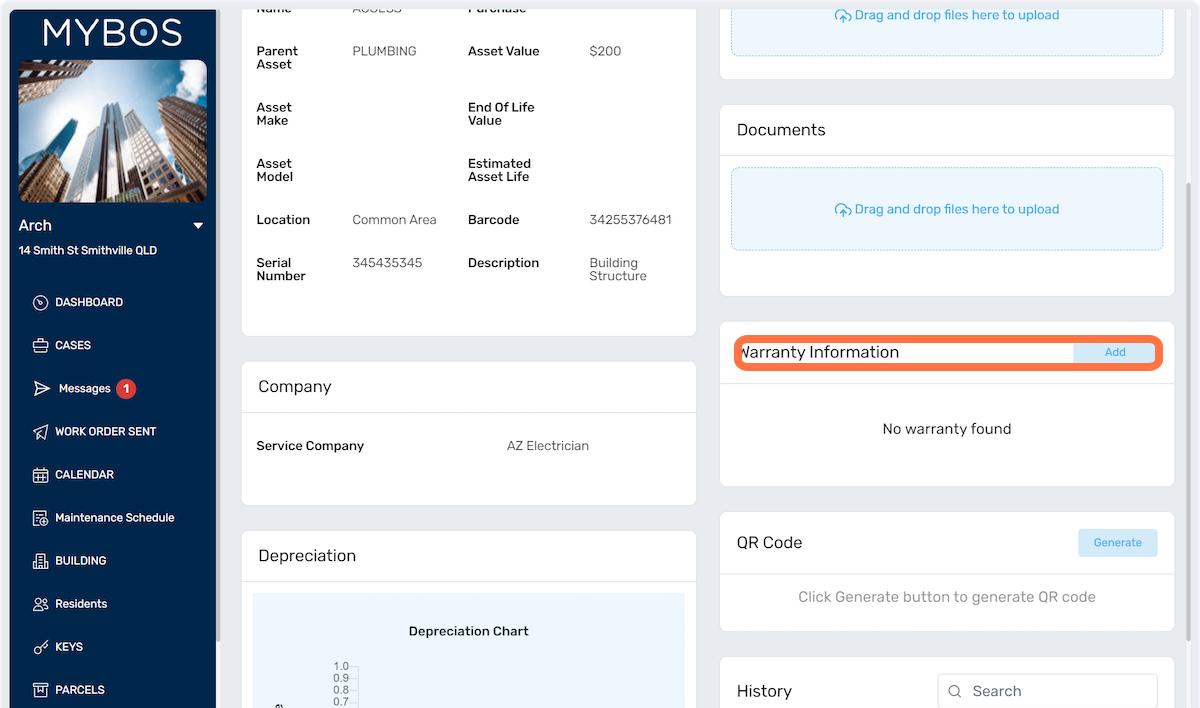
- Asset Management: The Assets feature allows you to maintain a comprehensive list of assets associated with your building. This could include equipment, machinery, infrastructure, or any other tangible items that require tracking and management.
Linking with Records: By linking assets to relevant records, such as cases or work orders, you can establish a clear connection between the asset and the corresponding historical data. This enables you to track the asset's history, maintenance, repairs, and other related activities in a centralised manner.
Maintenance and Repairs: You can utilise the Assets feature to schedule and track maintenance tasks and repairs for each asset. This helps ensure that assets are well-maintained, reduces downtime, and prolongs their lifespan.
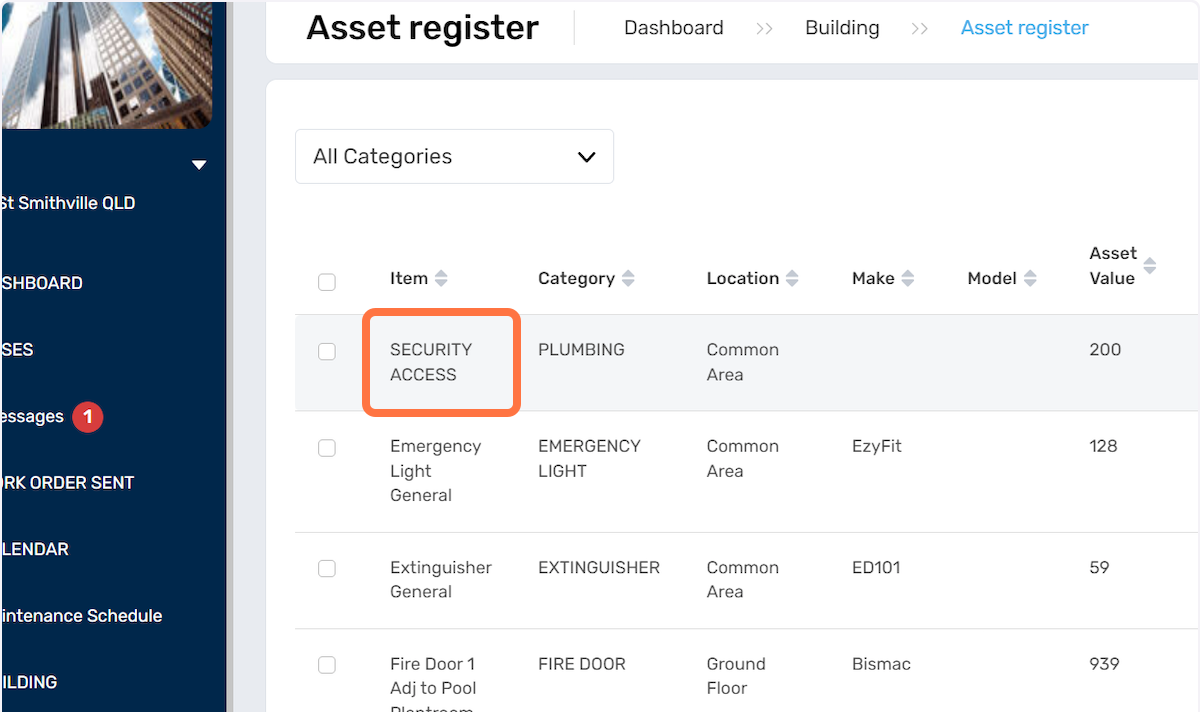
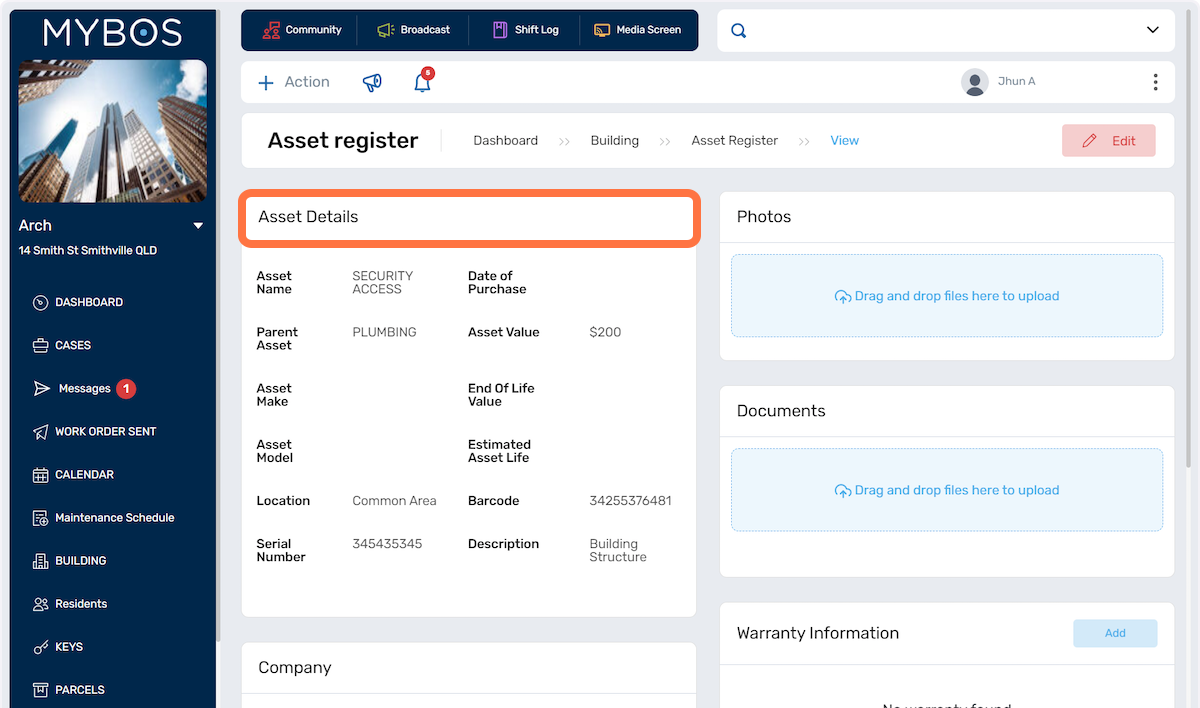
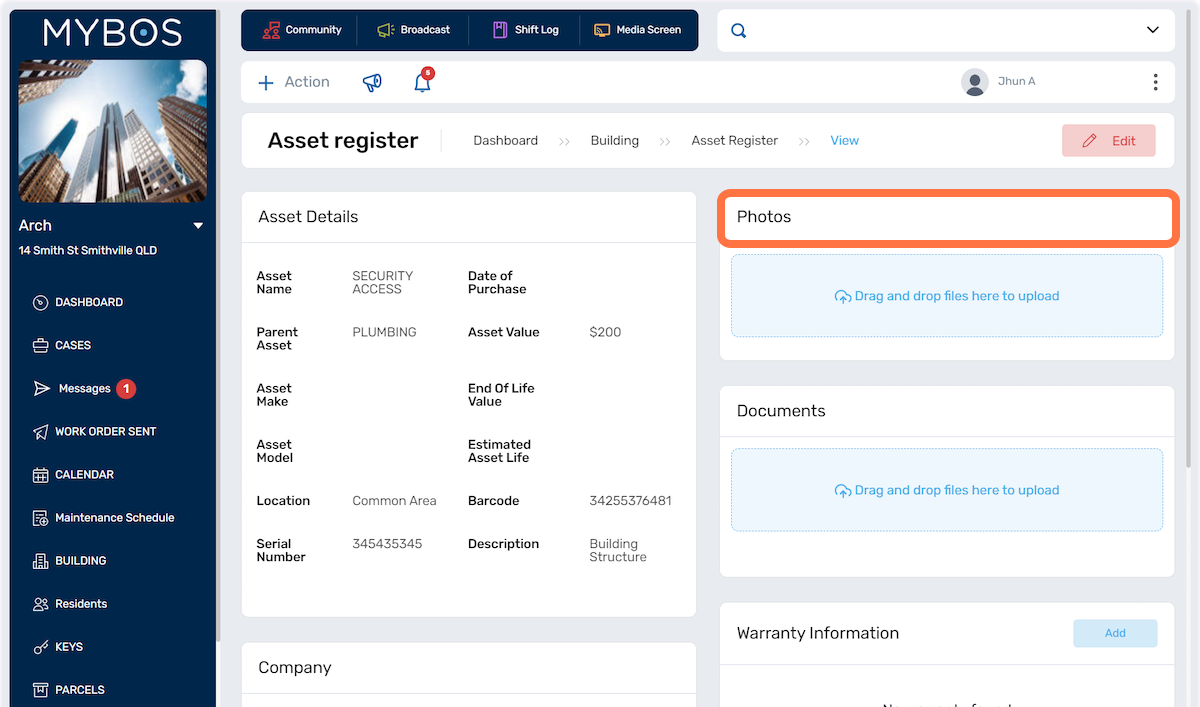
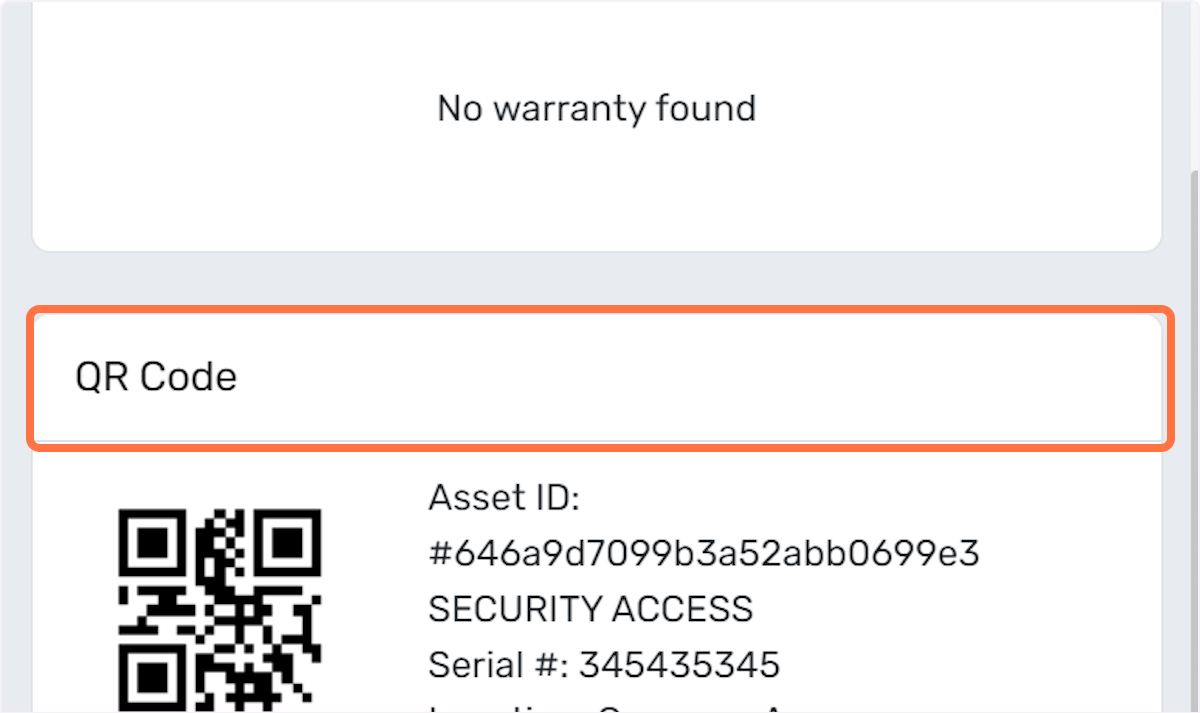
Asset Tracking: With the Assets feature, you can easily track the location, status, and other important details of each asset. This provides visibility into asset utilisation, availability, and helps in planning for replacements or upgrades.
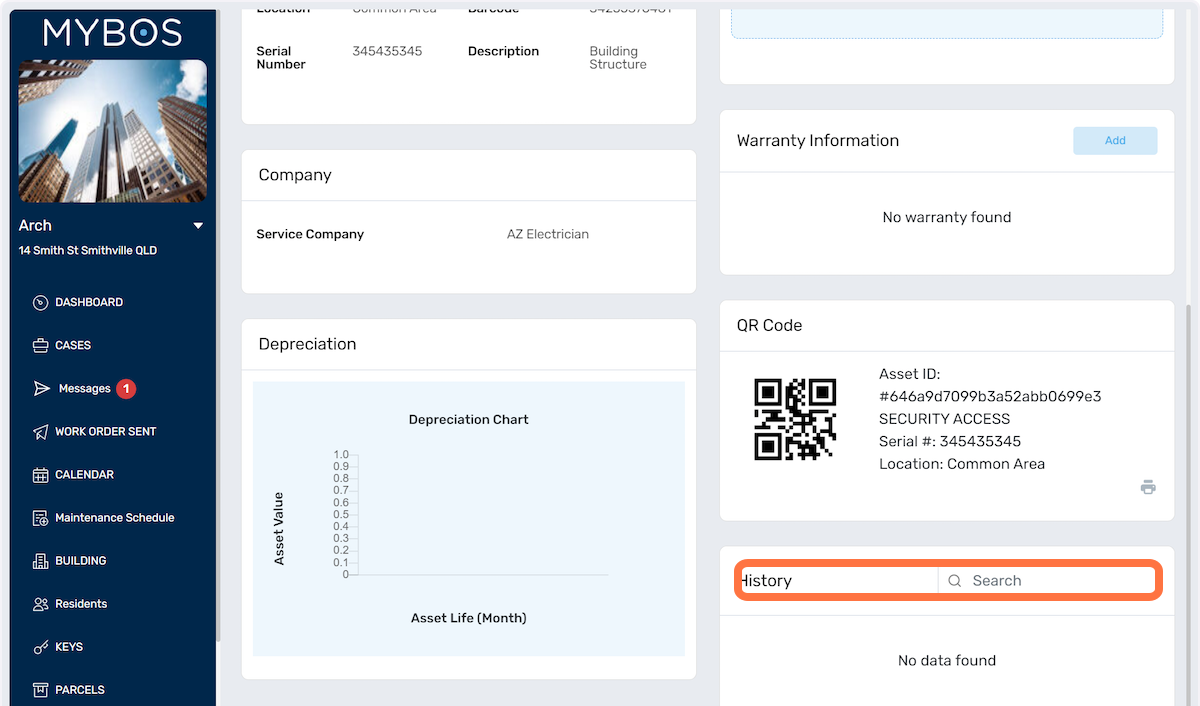
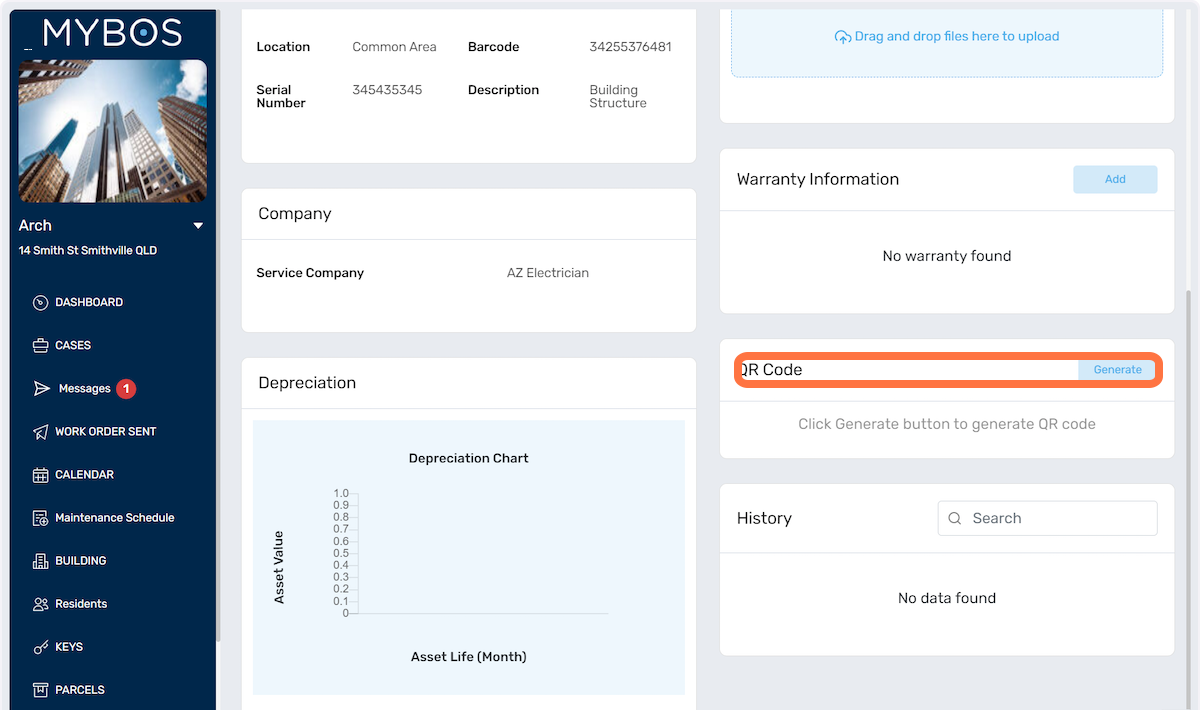
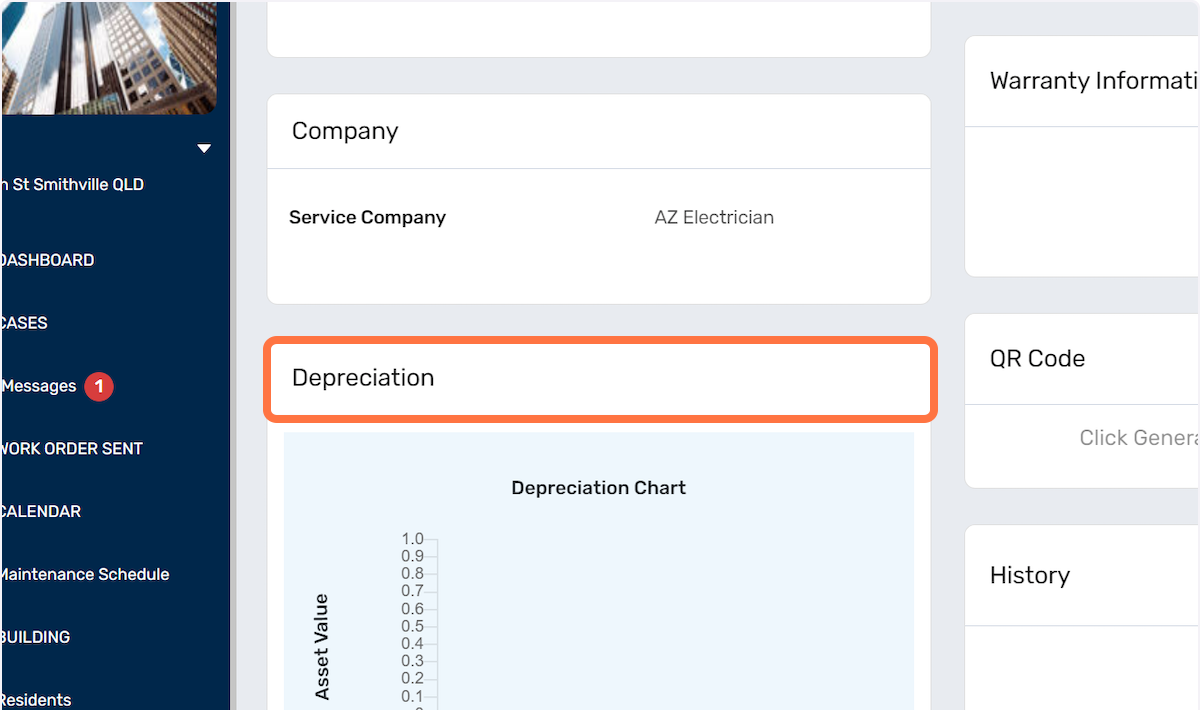
Reporting and Analysis: The Assets feature often includes reporting and analysis capabilities, allowing you to generate insightful reports on asset performance, maintenance costs, and other relevant metrics including deprecation. This data helps in making informed decisions, optimising asset utilisation, and identifying areas for improvement.
By utilising the Assets feature, you can effectively manage and track your building's assets, link them to relevant records, and streamline maintenance and repair processes. This ensures proper asset management, enhances operational efficiency, and helps in making data-driven decisions for your building.
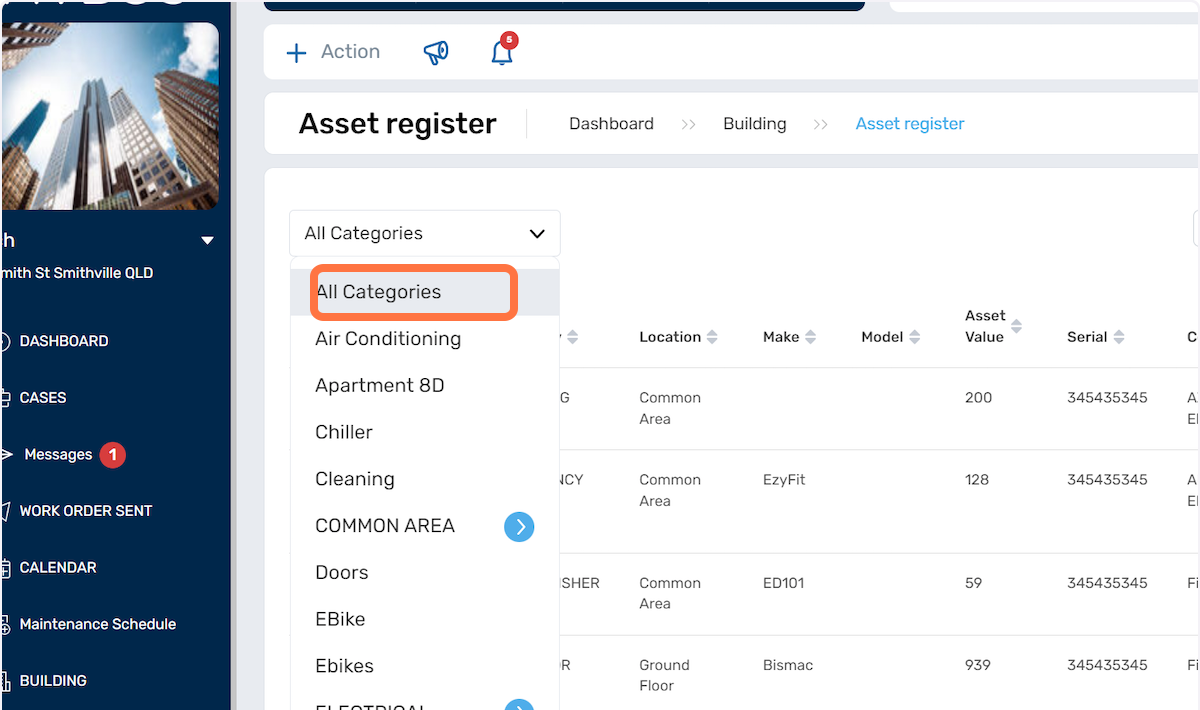
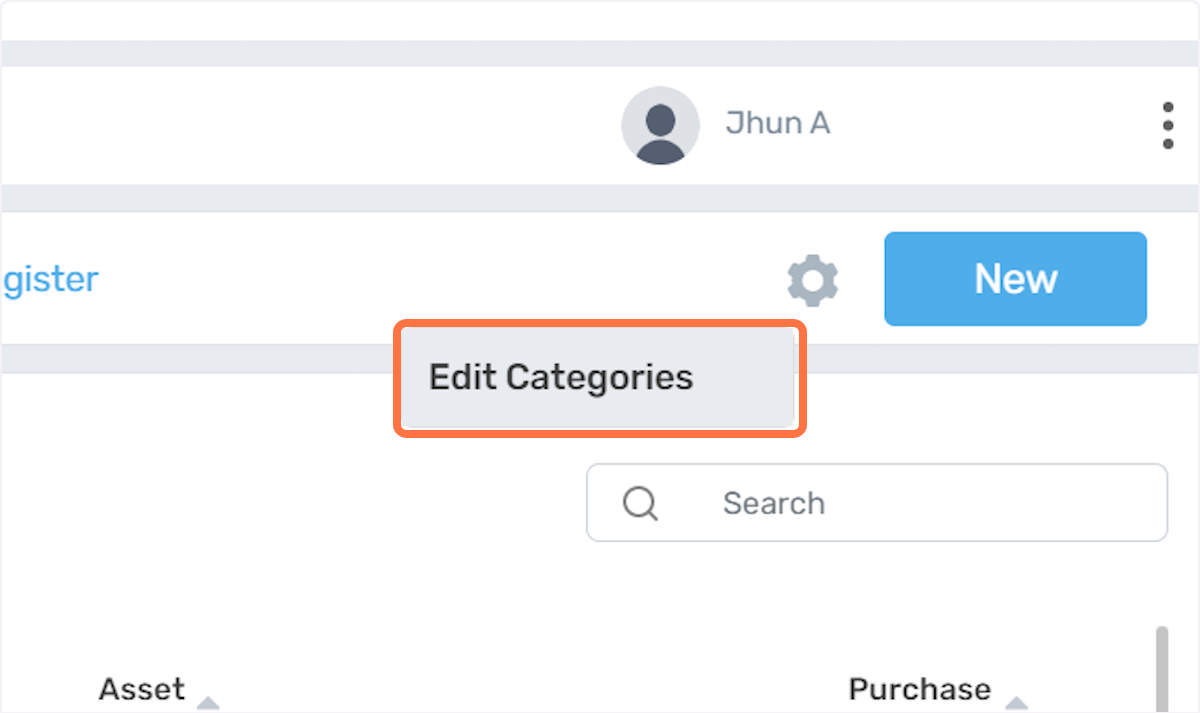
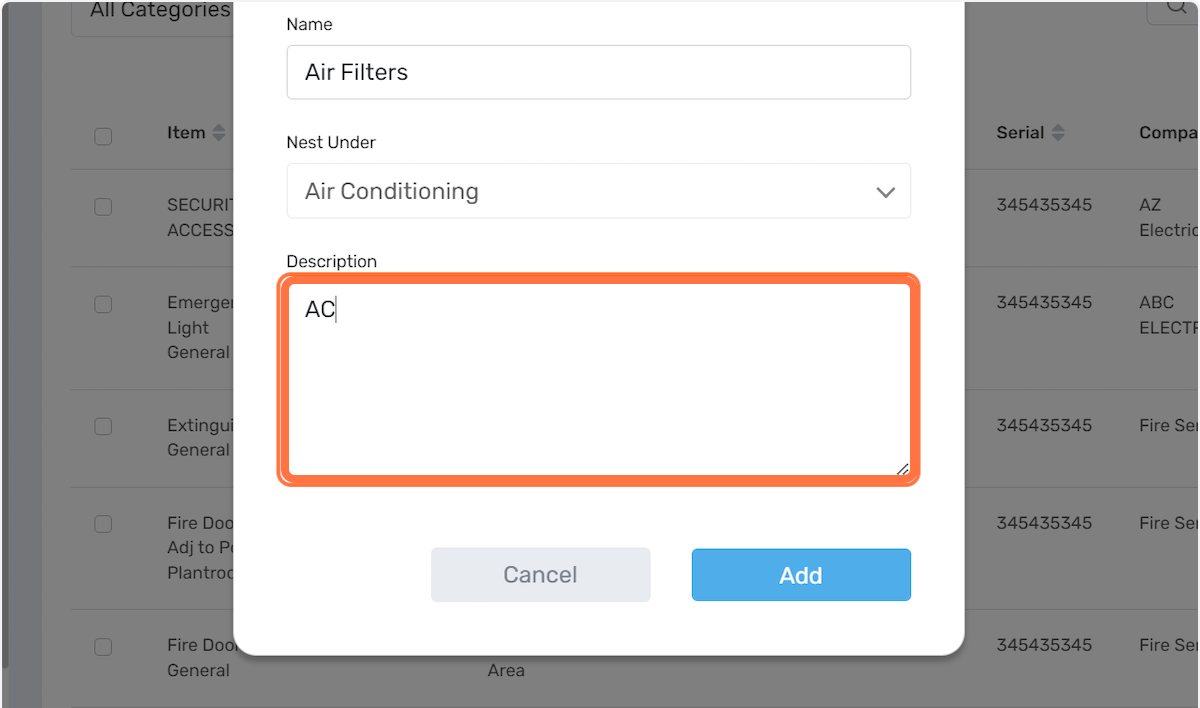
5. Click on Edit Categories
17.View any historical expenditure for the Asset