
After receiving an email invitation from noreply@mybos.com, or signing up for our demo follow these steps to set up your new password and access your account:
Setting Up Your MYBOS BM Profile
Step by Step Walkthrough
Step 1: If you have been sent an email invitation, click on the link provided in the email to set up your new password and log in
Step 2: Once logged in, you can manage your profile to ensure your details are correct. To do so, click on the Profile icon located on the top right-hand side of the screen, then select "Profile".
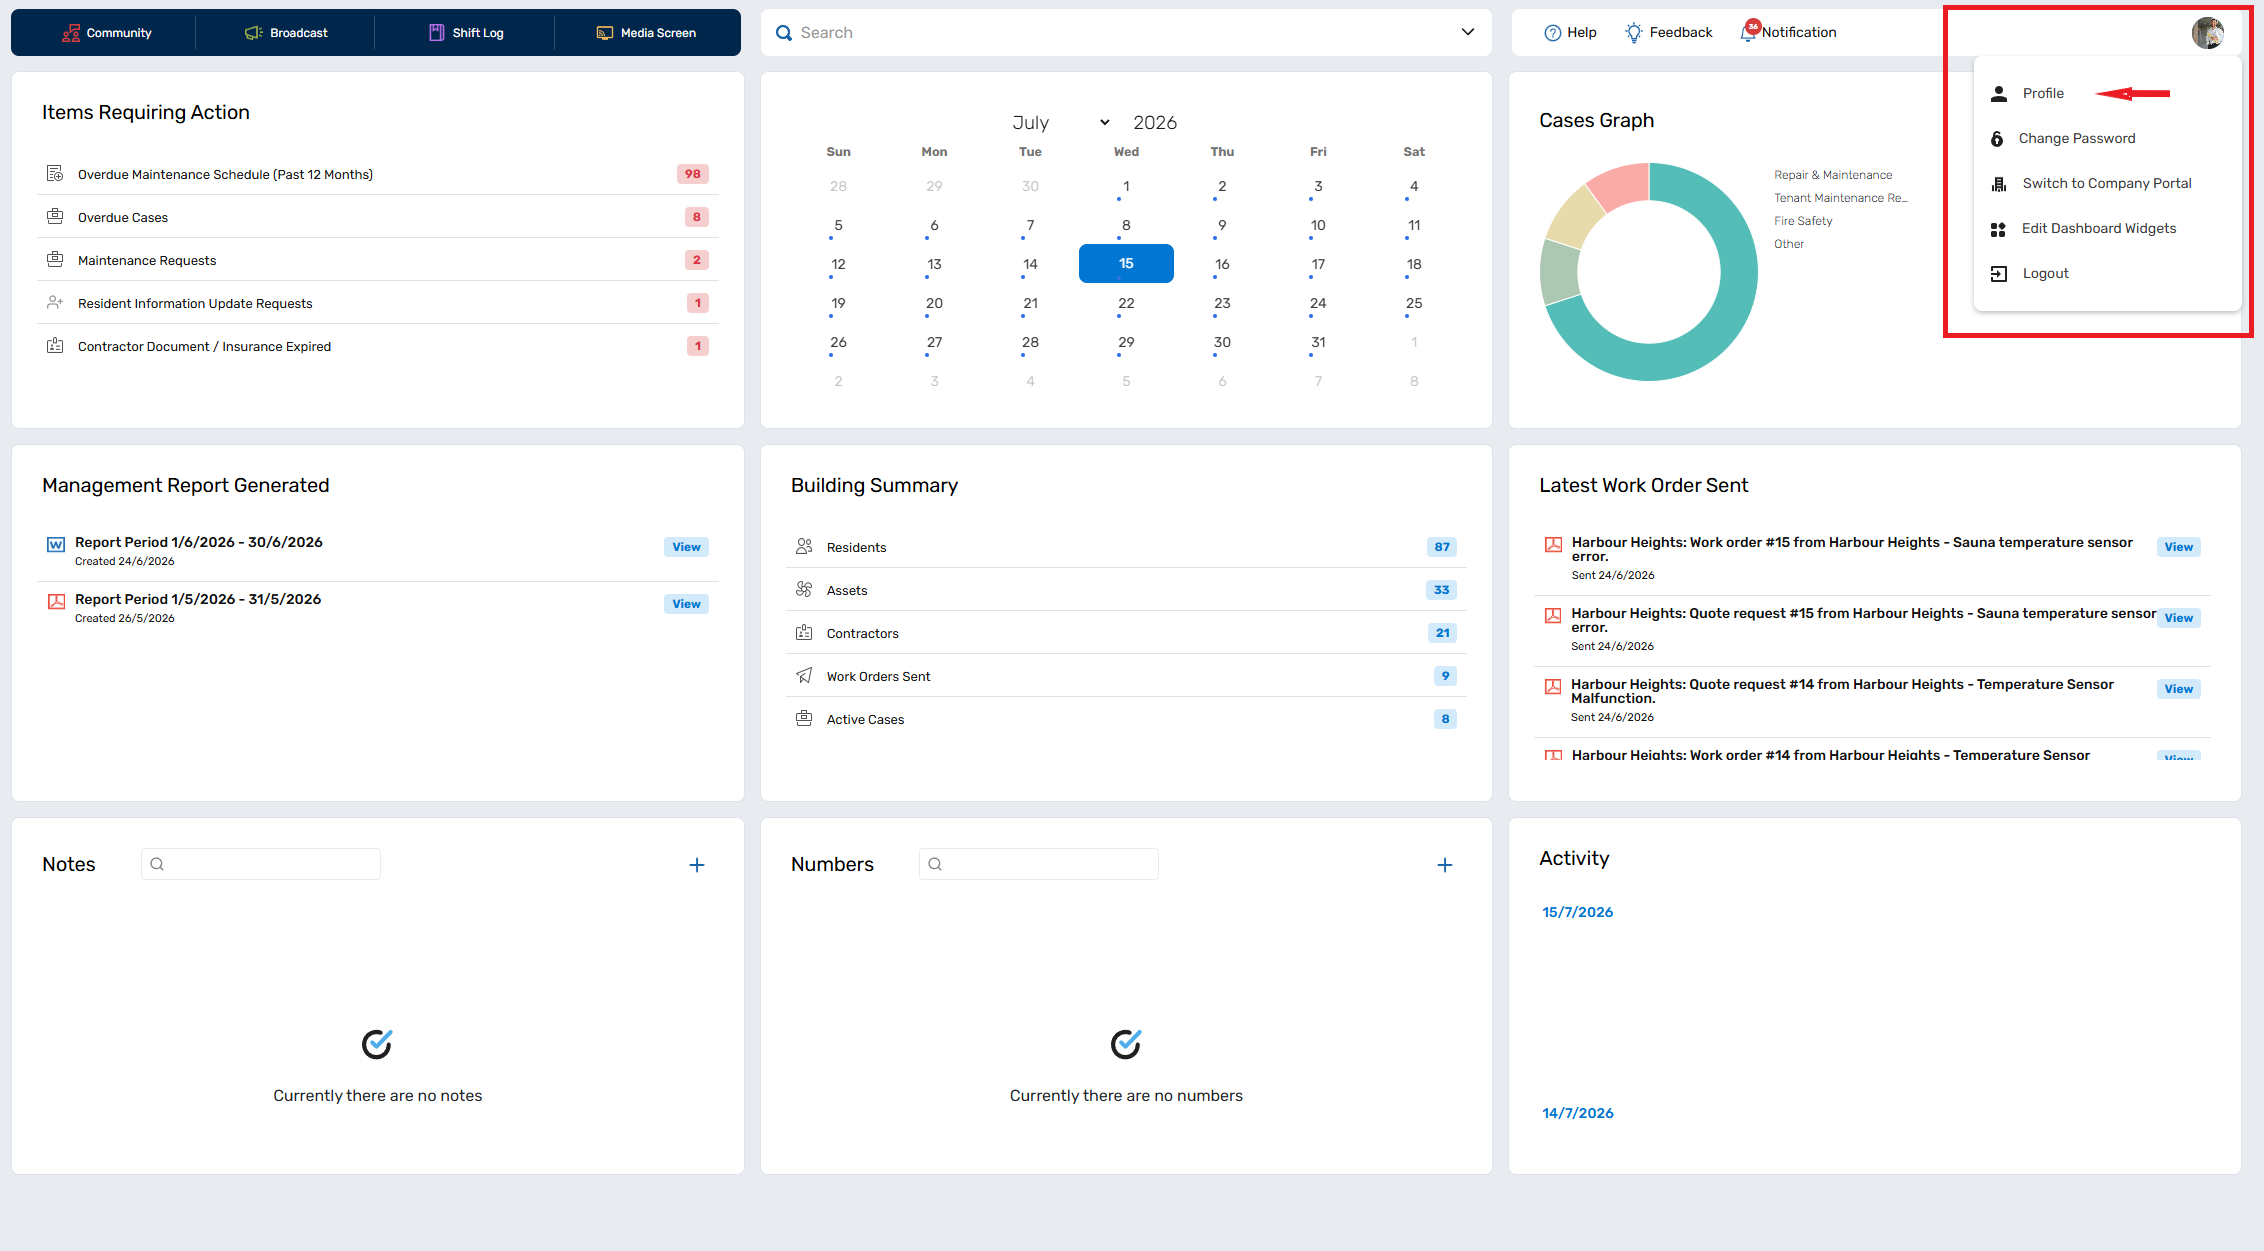
Step 3: In the "Profile" section, you'll find the following options:
- Your Details: Click the edit pencil icon to modify your name, phone numbers, and add a profile photo.
- Password and Security: Update your password here. If you ever forget your password, use the "Forgot password" option on the MYBOS login page to reset it.
- Multi- Factor Authentication (MFA): It is important to enable MFA to ensure that your account is secure. Click "enable" to turn MFA on.
- Email & Template Options: Click the edit pencil icon to make any updates. Here, you can customise your email signature and set the reply-to email address. All emails from MYBOS are sent from noreply@mybos.com. However, if you've entered an email address in the "Email Address" field, replies will be directed to that address. If you manage multiple buildings and require different email signatures for each, you can select the appropriate building from the dropdown menu.
❗ Please note that the noreply@mybos.com email address is not monitored. We recommend putting your building's email in the "Email Address" field so recipients can respond.