Within Breaches you have the option to report the following:
- Common Area Breaches: you can report breaches, link to the By-Laws you have setup under Building ➔ By-Laws and notify the resident by email regarding the breach.
- Parking Breaches: allows you to store and report parking breaches.
How to Create a Breach
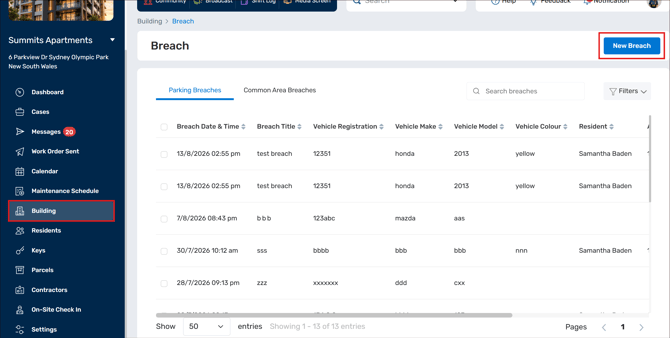
Step 1: Under Building ➔ Breaches, select New Breach.
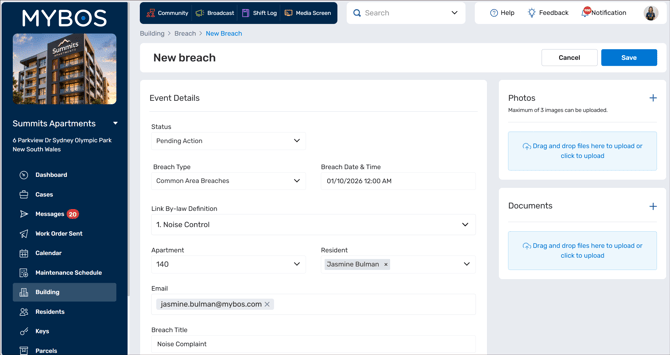
Step 2: In the new screen, select either Parking Area Breaches or Common Area Breaches from the Breach Type drop down menu, and fill out the rest of the details:
- Status: Pending Action or Resolved depending if this is a retroactive Breach for tracking or ongoing issue.
- Breach Date: select the date of the event from the calendar.
- Link By-Law Definition: select the relevant by-law from the dropdown that the breach affects.
- Parking Breaches:
- Vehicle Registration
- Vehicle Make
- Vehicle Model
- Vehicle Colour
- Apartment: the apartment number, this will show the residents names in the next field.
- Resident: select the Resident's name.
- Email: will be automatically filled out according to Resident details
- Breach Title: enter the title of the breach.
- Breach Description: enter a breakdown of the breach.
- Photos: if you have a photo of the breach, this can be attached. Maximum of 3 photos.
- Documents: a document or a copy of the by-laws can be attached.
Only Breach Type, Breach Date, Breach Title and Breach Description are mandatory fields.
Step 3: Select Save once all information has been entered.
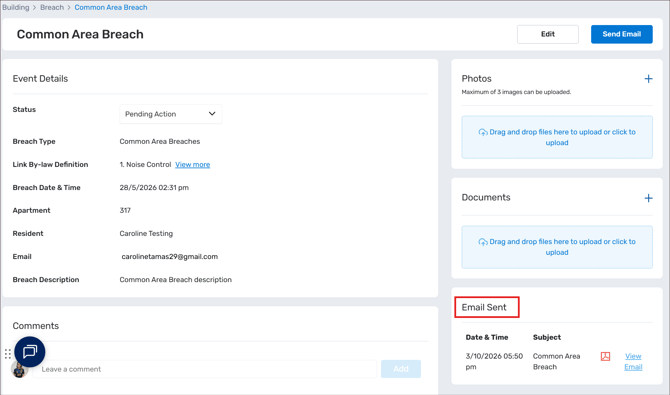
Step 4: To send an email out to the Resident and any other relevant people about this Breach, you can now click on Send Email in the top right corner. To add in a CC and BCC, after you type out an email - hit enter on your keyboard to ensure the email is added.
Step 5: Once the email has been sent, you can view sent emails in the bottom right corner in either a pop up screen or click on the PDF icon.
Viewing and Editing Current Breaches
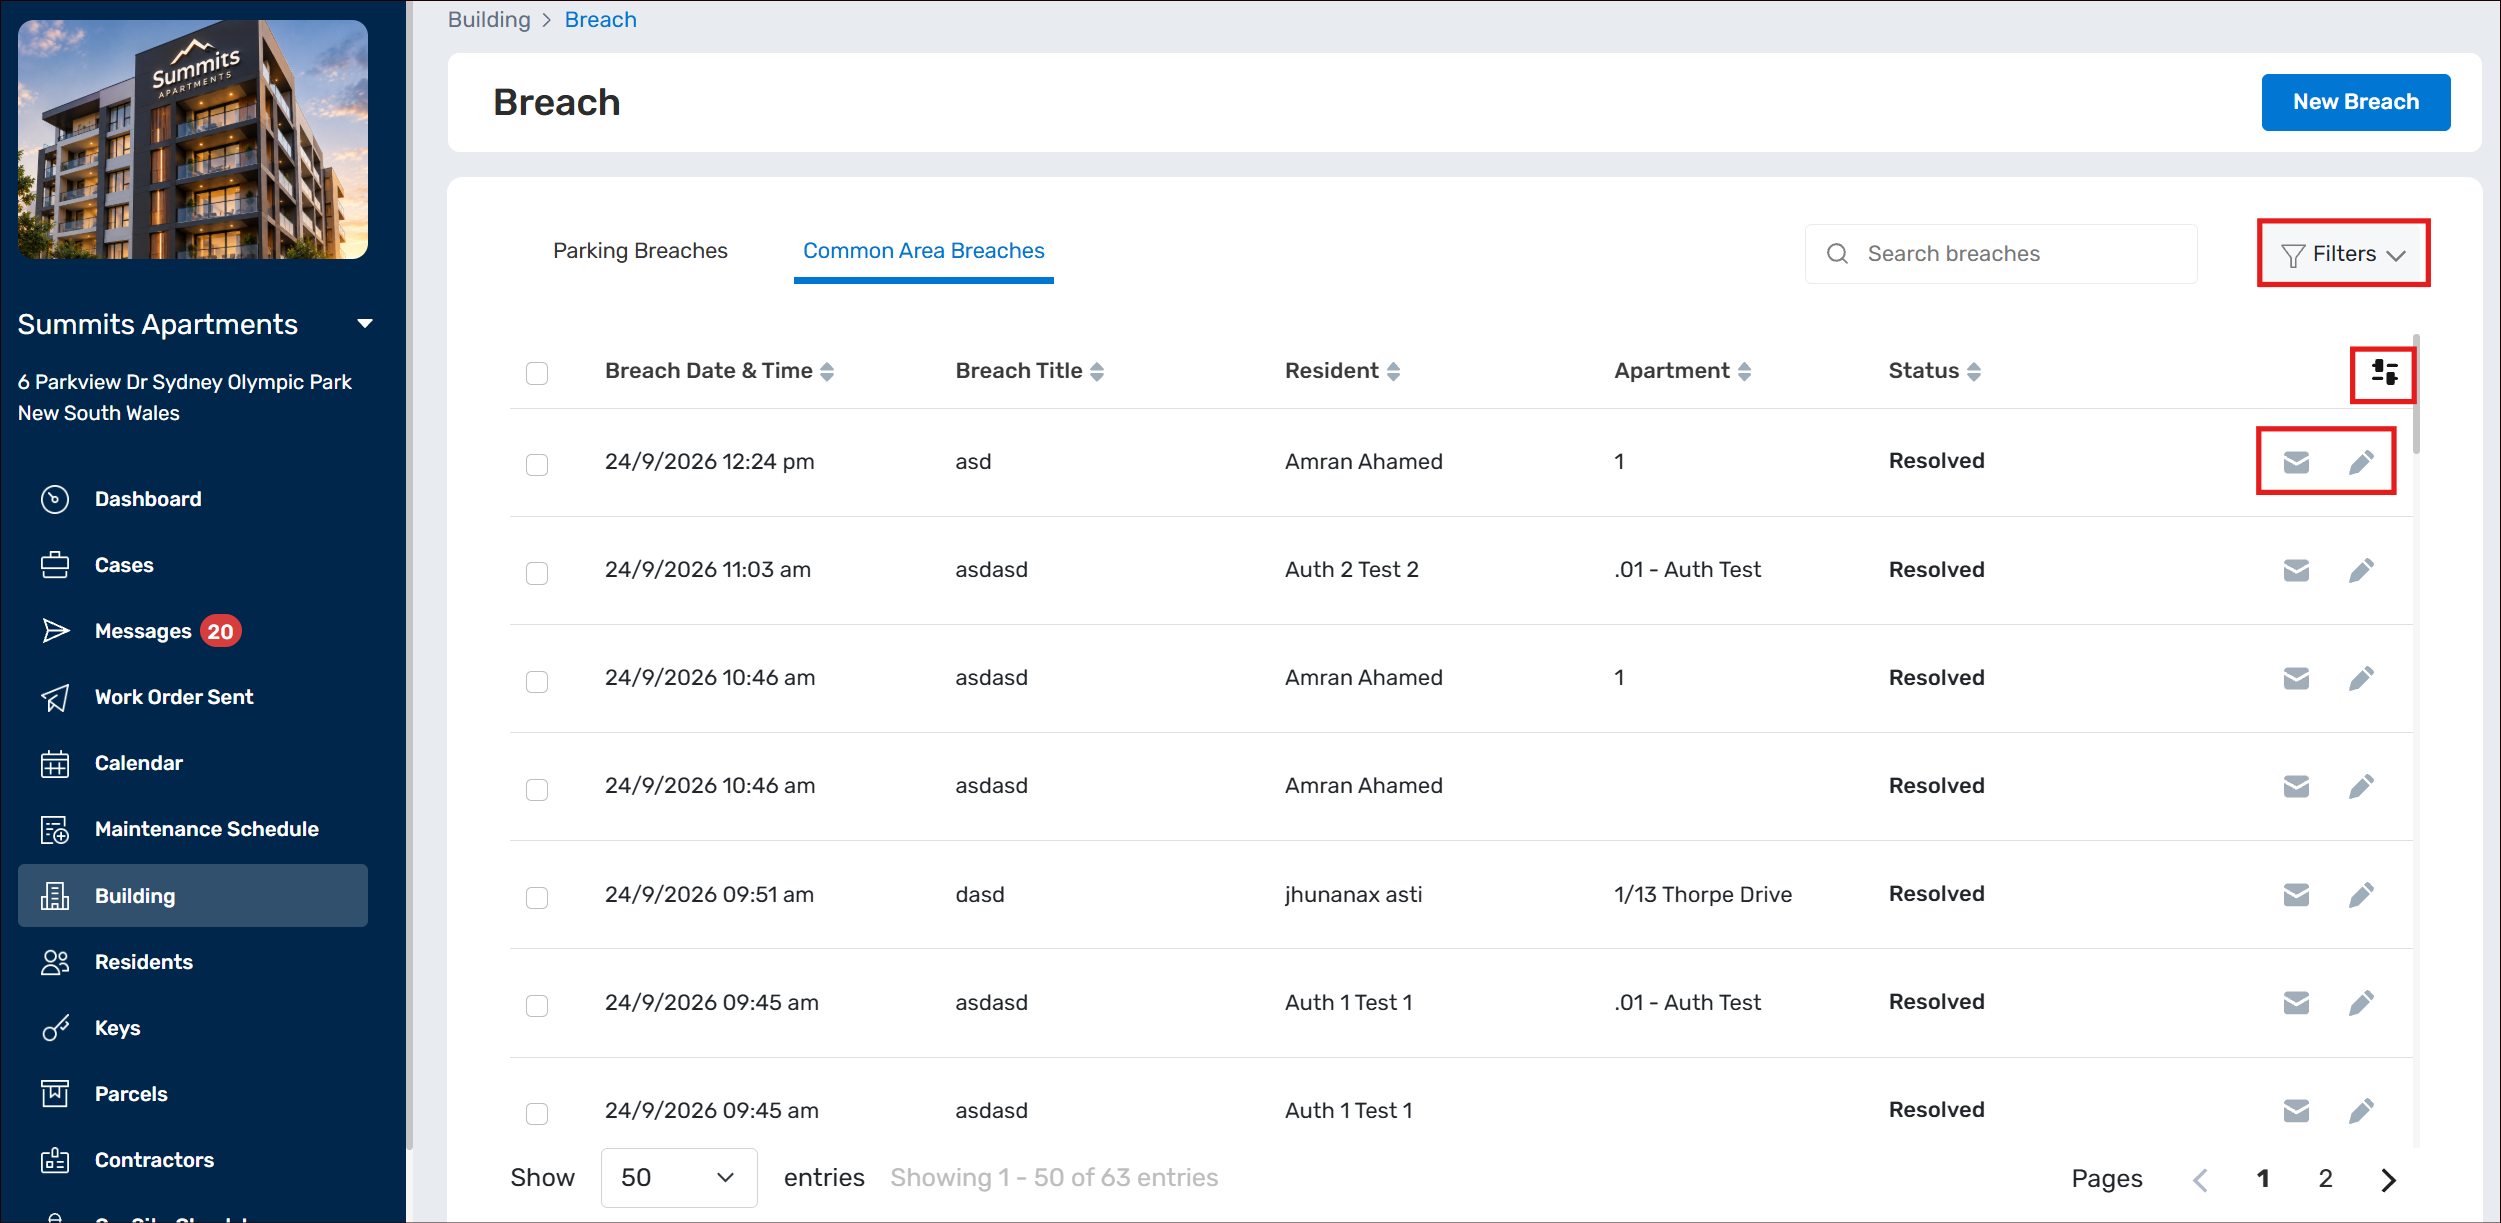
Within the Breaches area, there are two tabs that will list Parking Breaches and Common Area Breaches separately.
You can use the Search Bar to search by Breach Title, Resident name or Breach Description, while the Filter dropdown allows you to search via Breach Status and Date Range.
To make further edits to a Breach, select the pencil icon to the right of the Breach which will re-open the Breach for your edits, or just click on the Breach itself.
To send an email, please use the envelope icon to open up a pop up screen where you can send the Resident further emails.
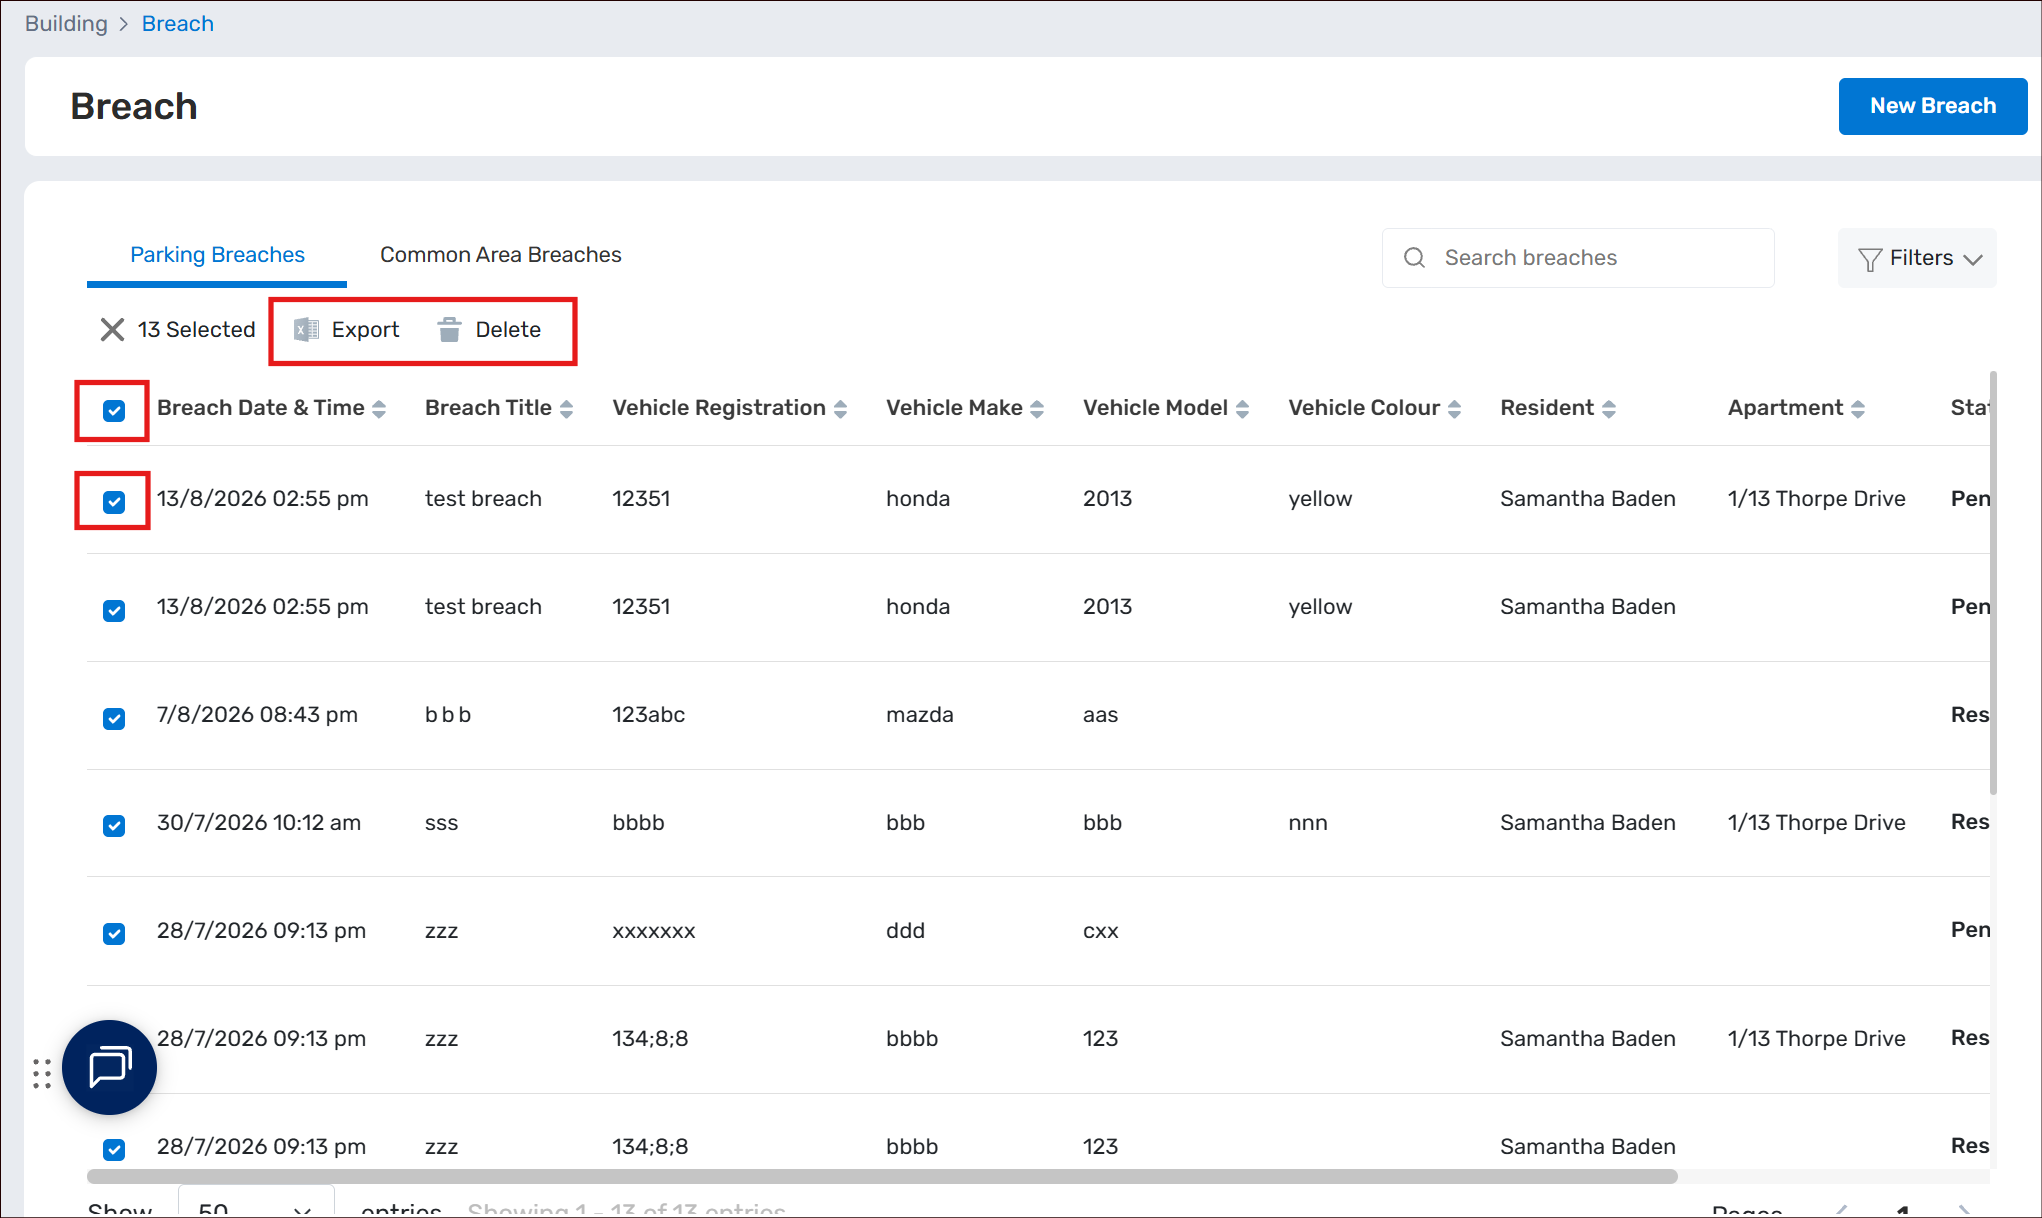
To Export a Breach(es), select the checkbox next to the Breach. The Export icon will pop up, and allow you to download an excel of the selected breach(es).
To Delete A Breach, select the checkbox next to a Breach, then select the Delete icon.
Deleting a Breach is a permanent action, and cannot be retrieved.
Viewing a Resident or Lot Breaches
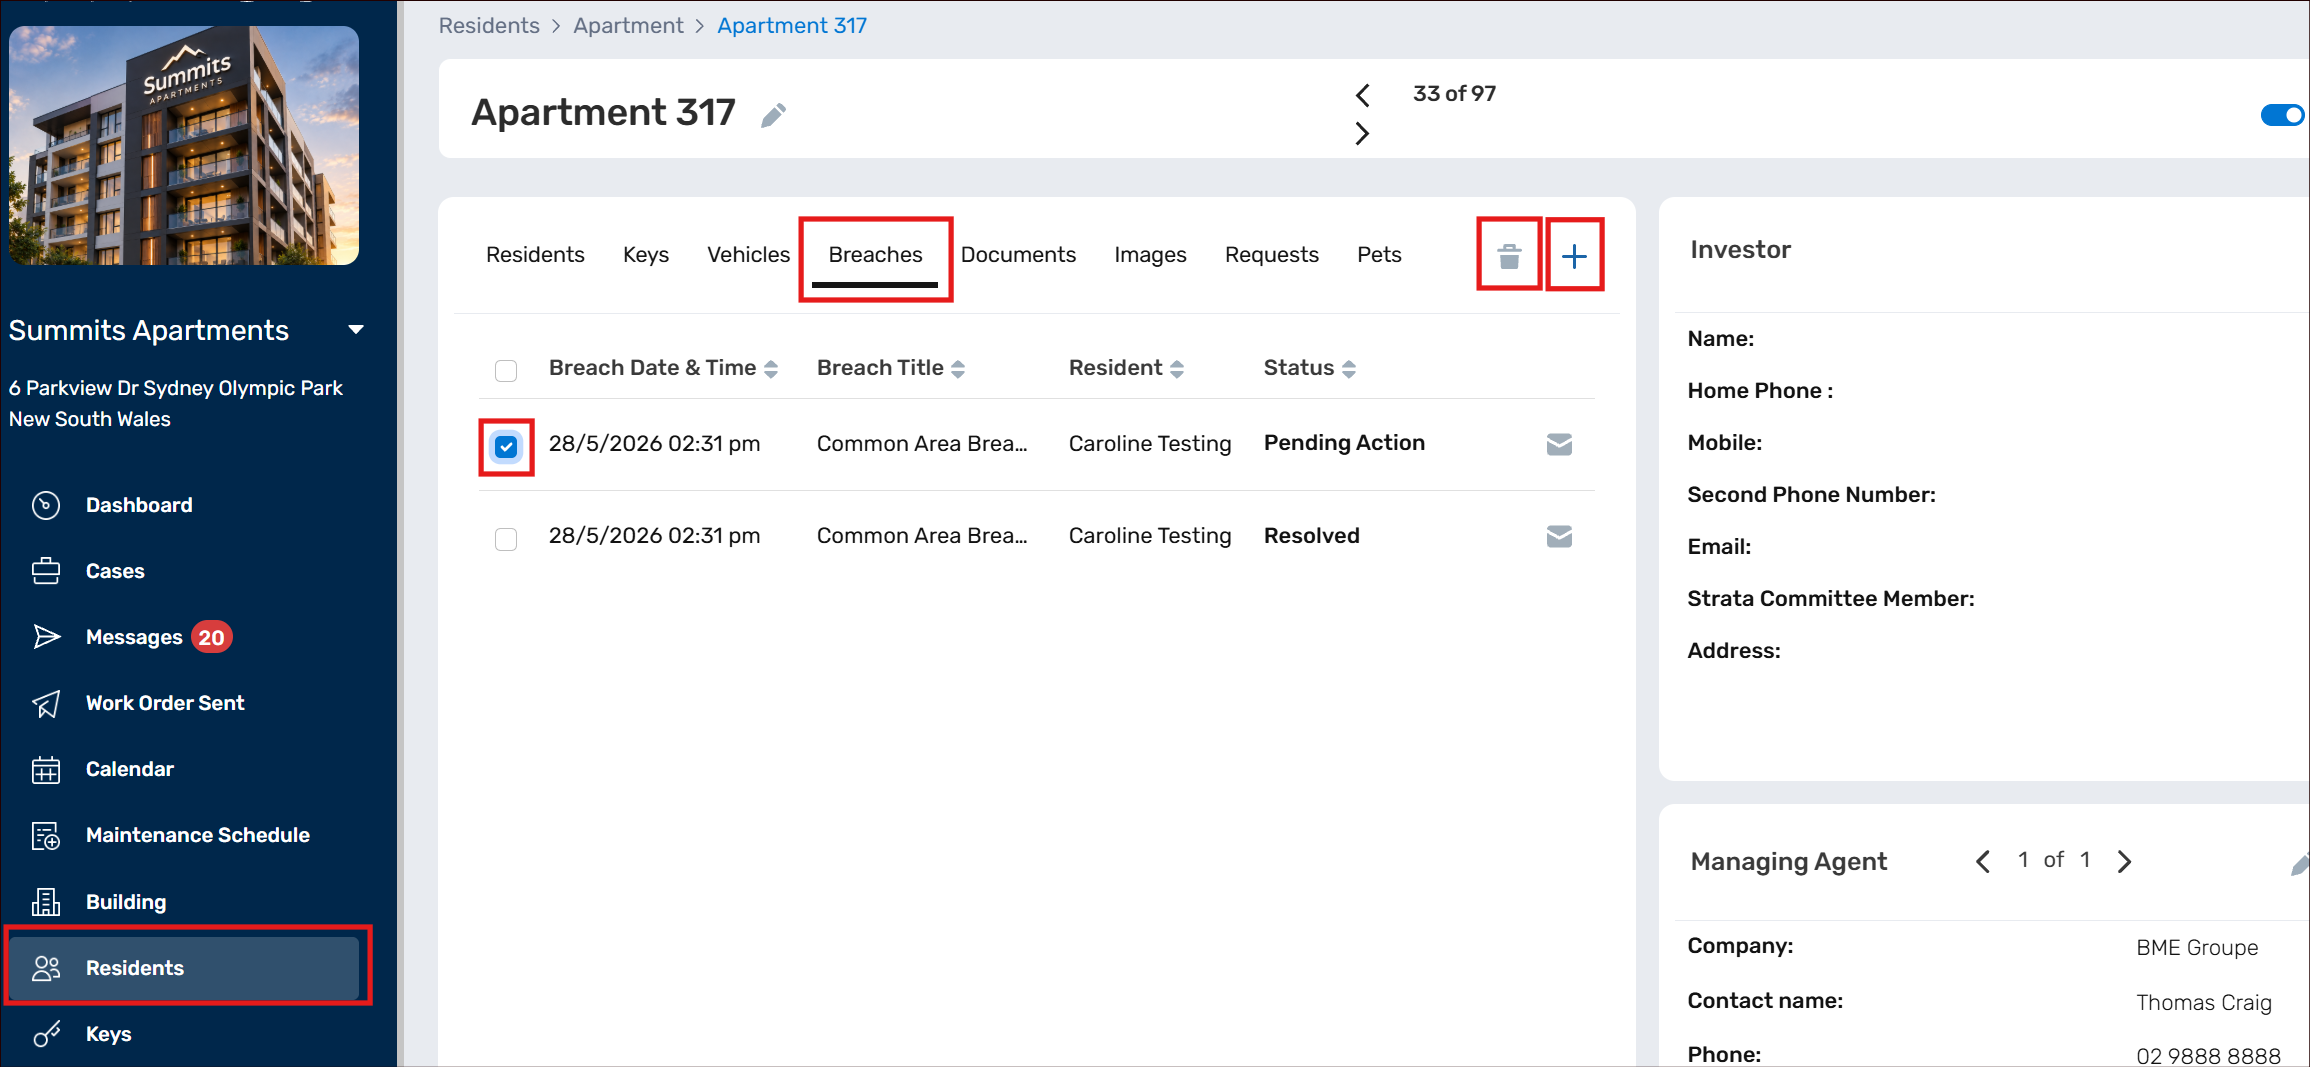
Under Residents ➔ select the Resident or Apartment ➔ select the Breaches tab. This will display the Breaches linked to the Residents within an Apartment/Lot.
To add in a new breach, select the + plus button while in the Breaches tab.
To delete a breach, select the checkbox next to the breach and then the delete icon will appear.
To edit a breach, click on the breach itself which will open up the Edit screen, also located within Breaches.